Start testing your Power Apps with Playwright
Earlier this year, I was asked if it was possible to test Power Apps with Playwright. My answer was that it should be possible, as it is still a web application that gets created. Over the last few months, I have been working on and testing a project where I used Playwright to test a solution created in Power Apps.
As the whole Power Platform becomes increasingly popular, it is also important to start testing these solutions as they become more complex and are used in more critical business processes. Microsoft also provides two ways of testing your Power Apps, but they are not as flexible as Playwright. I also believe it is best to use a testing platform that many testers are already familiar with. This way, you can use the same testing platform for all your applications.
In this blog post, I will show you how you can start testing your Power Apps with Playwright.
Getting started
The first thing you need is an app to test; if you don’t have one yet, you can create one in the Power Apps portal.
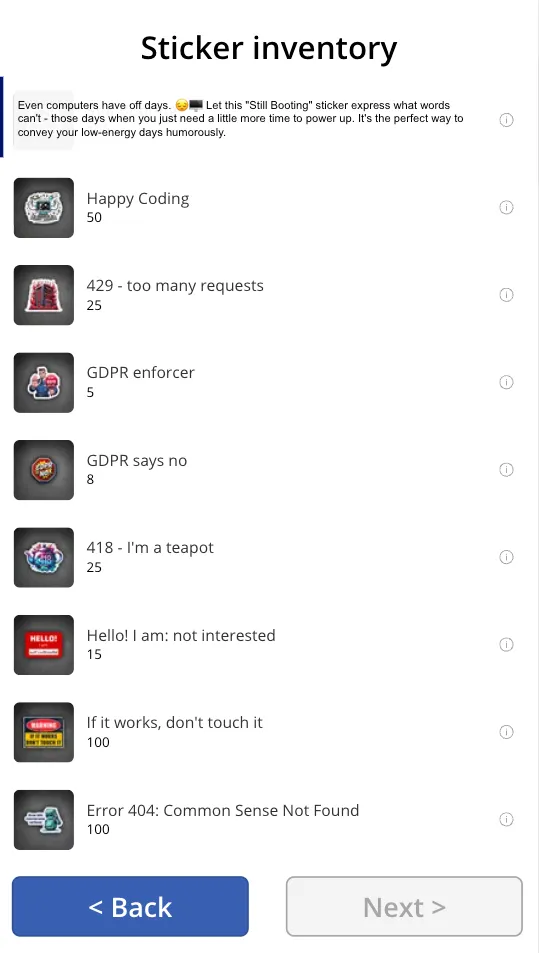
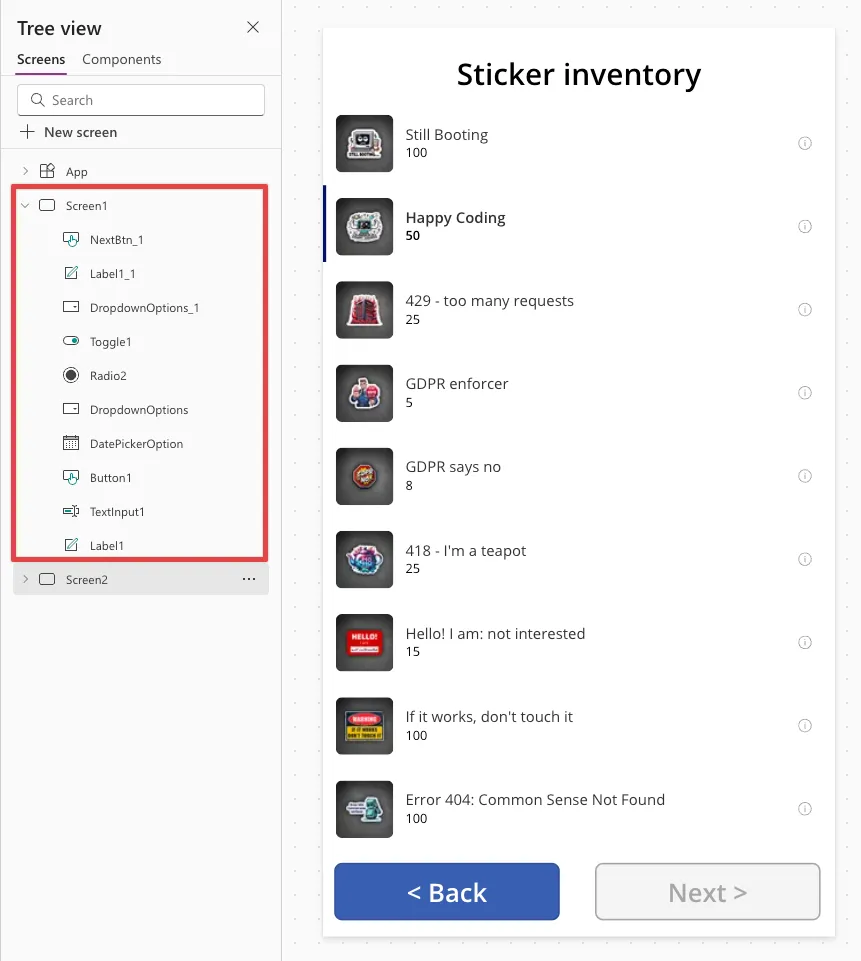
For my example, I have created a simple app with two screens. The first screen is created to test the control behavior, and the second screen has a gallery that shows an inventory of stickers.

Besides the app, you also need an account to be used for running the tests.
The Playwright project
Clone the Microsoft 365 Playwright Template repository to get started. This repository contains a template you can use to start testing your Microsoft 365 solutions, such as Power Apps, SharePoint, Teams, and more.
After you have cloned the repository, you can install the dependencies.
npm installCopy the .env.sample file to .env and update the values with your credentials.
cp .env.sample .envAdd the URL of your Power App to the M365_PAGE_URL variable.
Authentication
To start testing, Playwright first needs to authenticate before it can load your Power App. The template already contains the necessary code, so you must provide the credentials information (username, password, …) in the .env file.
As MFA (Multi-Factor Authentication) is recommended, you will have to provide a TOTP (Time-based One-Time Password) secret in the .env file. More information on how you can get this secret can be found in the automating Microsoft 365 login with multi-factor authentication in Playwright tests article.
Writing the tests
The template already contains a test file, tests/power-apps.spec.ts. In this file, you can write your tests.
Typically, to get started with a new test, I start with the following base:
import { test, expect, Page } from "@playwright/test";import { getAppFrame } from "playwright-m365-helpers";
test.describe("Power Apps", () => { let page: Page;
test.beforeAll(async ({ browser }) => { page = await browser.newPage(); await page.goto(process.env.M365_PAGE_URL || "", { waitUntil: "domcontentloaded", });
const splashScreen = page.locator("#playerSplashScreen"); await splashScreen.waitFor({ state: "hidden" }); });
test.afterAll(async () => { await page.close(); });
test("Check if canvas is loaded", async () => { await getAppFrame(page); });});In this test, the Power App is loaded and checked to see if the app canvas is shown with the getAppFrame function. This function is part of the playwright-m365-helpers package, which I created to help you interact with Microsoft 365 solutions.
Behind the getAppFrame function, the following code is executed:
const iframe = page.frameLocator("iframe#fullscreen-app-host");const publishedCanvas = iframe.locator("#publishedCanvas");await expect(publishedCanvas).toBeVisible();This code checks if the canvas is visible. If it is not, the test will fail.
The app canvas is the main part of Power Apps, it is an iframe in which all the controls are placed/loaded. Once you have the canvas, you can start interacting with the controls.
In my example, I want to test whether the gallery is loaded and the items are shown. To do this, I have created the following test:
test("Check if sticker inventory screen works", async ({ page }) => { // Retrieve the canvas const canvas = await getAppFrame(page);
// Get the button for the next page and click it const nextButton = getButton(canvas, "NextBtn_1"); await nextButton.click();
// Wait for the connector response const response = await waitForConnectorResponse( page, "sharepointonline/4aee3a63496d4e3f998c3910ba712bf2", { logging: false } );
const data = await response.json(); const totalItem = data.value.length;
// Get the gallery and check if it is visible const gallery = getControlByName(canvas, "Gallery1"); await expect(gallery).toBeVisible();
// Get the gallery items and check if the total shown stickers is the same as the total items in the response const galleryItems = getGalleryItems(gallery); await expect(galleryItems).toHaveCount(totalItem);
// Check if we can view the description of the second item const secondItem = galleryItems.nth(1); const descriptionLabel = getLabel(secondItem, "DescriptionLabel"); await expect(descriptionLabel).not.toBeVisible();
const infoBtn = getControlByName(secondItem, "InfoBtn"); await infoBtn.click();
await expect(descriptionLabel).toBeVisible();
await page.screenshot({ path: "screenshots/inventory-result-description.png", });});Above, you can see a test that checks if the gallery is loaded and if the items are shown. It also checks if the description of the second item is shown when the info button is clicked.
Helper functions
The playwright-m365-helpers package contains a set of helper functions to interact with your Power App. Most of these functions like getButton, getControlByName, … all use the name of the control to find it. This name can be set and retrieved while editing your Power App (or use your browser developer tools).

Another helpful function is the waitForConnectorResponse one. Typically, when you test a web app and want to wait for an API response, you can use page.waitForResponse. In Power Apps, all calls to your APIs are done through connectors (**/invoke API calls). The waitForConnectorResponse function simplifies this process, and all you need to provide is the connector ID.
The connector ID is found in the URL when opening the connector from the connections page in your Power Apps portal.

Running the tests
Once you have written your tests, you can run them by executing the following command:
# Running tests in your terminalnpx playwright test
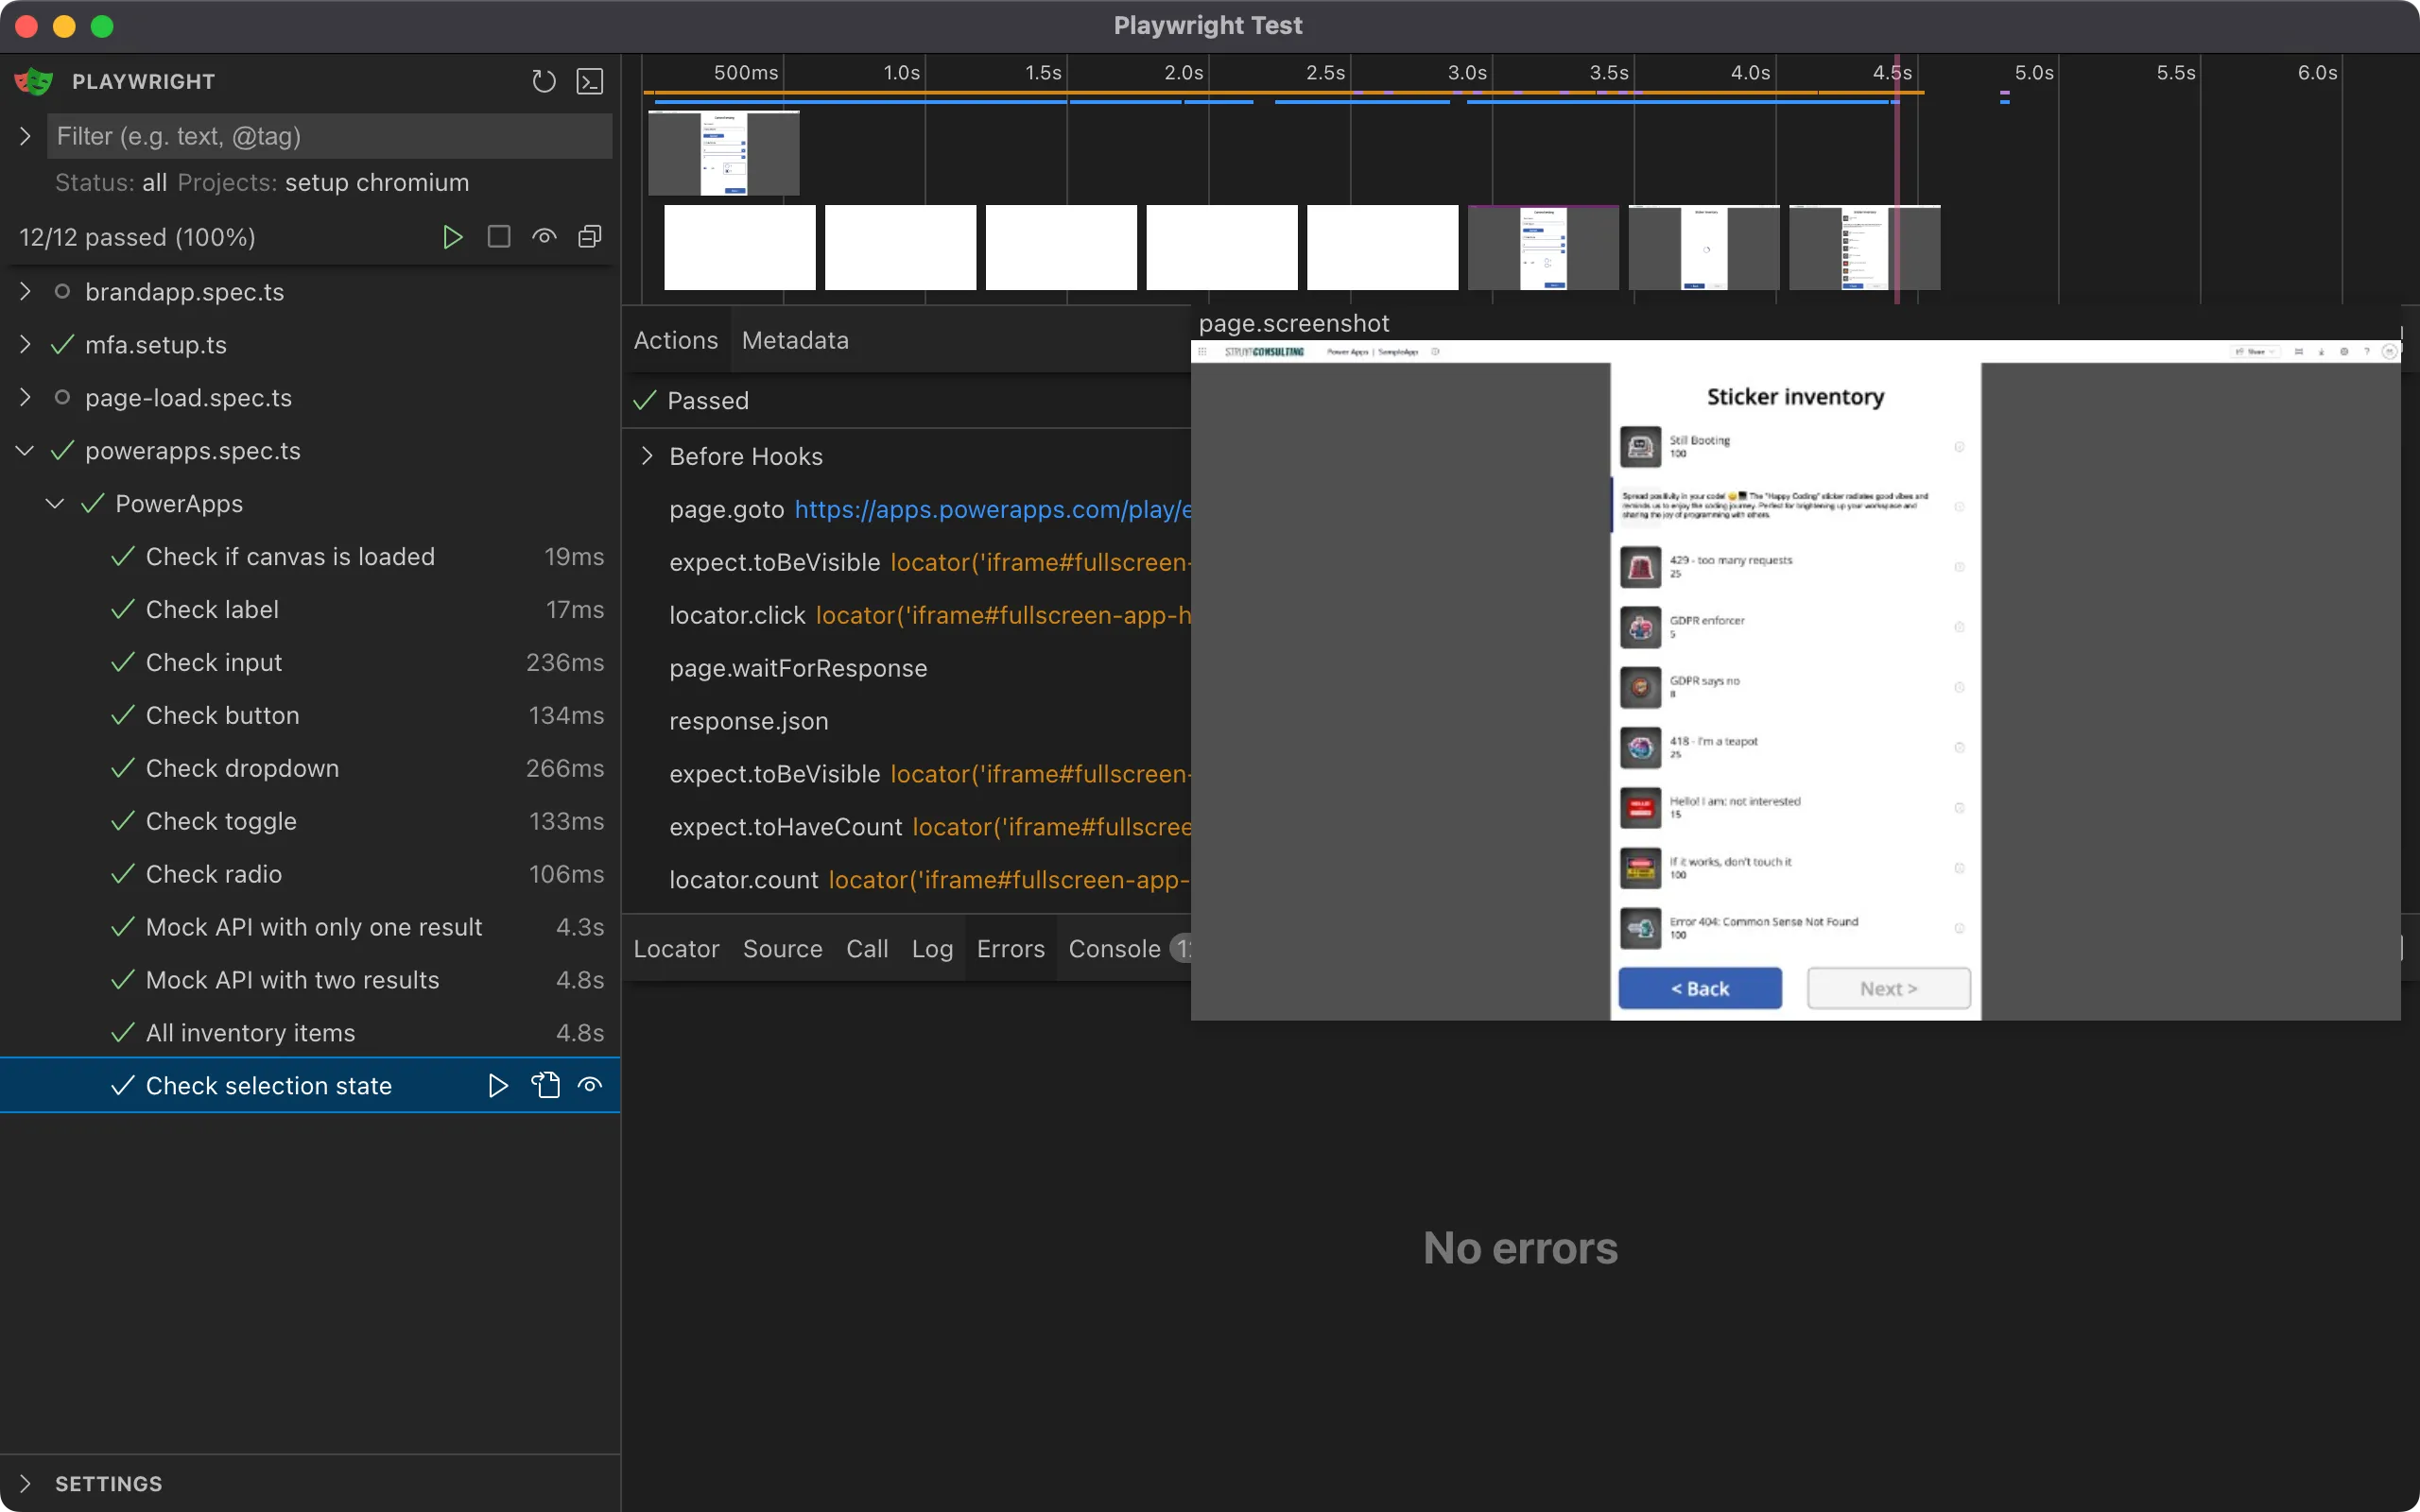
# Running tests in UI modenpx playwright test --uiUI mode is useful when writing new tests or verifying existing ones.

Conclusion
Testing your Power Apps with Playwright is a great way to ensure your applications work as expected. This allows you to catch issues before they reach your users.
The next step is integrating these tests into your CI/CD pipeline. This way, you can run these tests automatically after each update or on a schedule.
Related articles
Mock Power Apps connectors in tests with Playwright
Learn how to mock Power Apps connectors in tests using Playwright for a controlled testing environment and accurate results.
End-to-End Test Microsoft 365 Solutions with Playwright
This article explains how you can make use of Playwright to end-to-end test your Microsoft 365 (SharePoint & Microsoft Teams) solutions.
The Playwright Reporter for GitHub Actions
Learn how to use the @estruyf/github-actions-reporter to discern Playwright test results in GitHub Actions quickly.
Report issues or make changes on GitHub
Found a typo or issue in this article? Visit the GitHub repository to make changes or submit a bug report.
Comments
Let's build together
Manage content in VS Code
Present from VS Code
Engage with your audience throughout the event lifecycle
