Sticky Footer Solution for SharePoint 2013
This post is over a year old, some of this information may be out of date.
Footers and SharePoint that was the starting point of this blog. Back in August 2010, I blogged about how to create a sticky footer for your SharePoint 2010 sites (blog post can be found here and here). Now it is time to upgrade this sticky footer solution to SharePoint 2013.
For this sticky footer solution you will only need to add some HTML and CSS markup to the master page html file.
If you used my solution from 2010, you will see that not much has changed.
Adding the HMTL Footer markup to the master page
- Open the master page its HTML file in your favorite text editor (in this example I will use the seattle.html file);
- Do a search for the s4-workspace DIV, and add a new wrapper DIV underneath it;
<!-- =Wrapper --><div class="wrapper">
- Go straight to the bottom of the HTML file and find the last DIV closing tag;
- Replace the DIV’s closing tag with the following code:
<!-- =Push is needed for the footer to be correctly placed on the page. ms-dialogHidden used to hide it in the dialogs. --> <div class="push ms-dialogHidden"></div> </div> <!-- =Footer: ms-dialogHidden used to hide it in the dialogs. --> <div class="footer ms-dialogHidden"> <span>This is my SharePoint 2013 Footer</span> </div></div>
- Save the file
Styling your footer
Now that you’ve added your HTML markup to the master page HTML file, we only need to style the footer.
The CSS markup looks like this:
.wrapper { min-height: 100%; height: auto !important; height: 100%; /* The bottom margin is the negative value of the footer's height */ margin: 0 auto -30px; overflow: visible !important;}.footer, .push { /* .push must be the same height as .footer */ height: 30px; /* Multicolumn Layout With Sticky Footer */ clear: both;}.footer { background: #0072C6; color: #fff; line-height: 30px; text-align: center;}body #s4-workspace { margin-bottom: -30px;}I paced this CSS code for testing purposes in the following location: /_layouts/15/images/tests/footer.css.
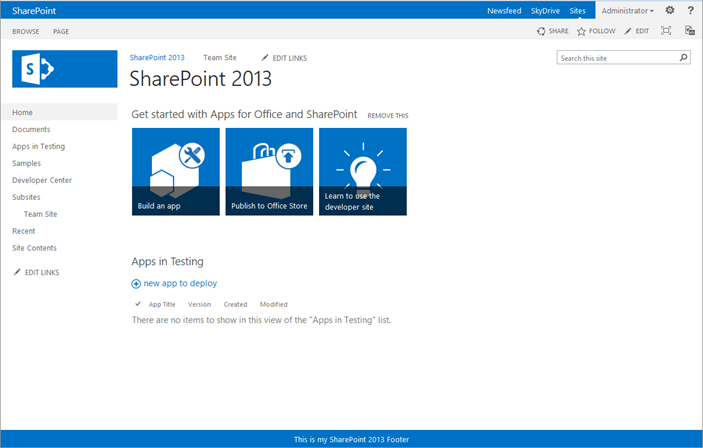
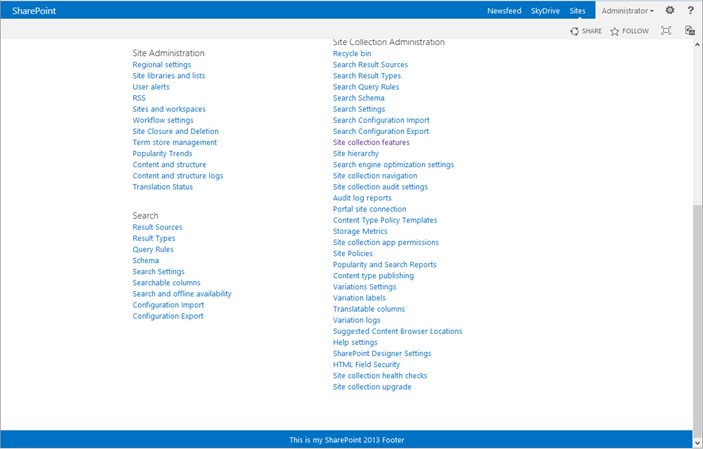
Sticky Footer Result
The result looks like this:


JavaScript Solution
During the writing of this blog post Randy Drisgill posted his solution of adding a Sticky Footer via JavaScript. The blog post can be found here.
Download the files
Related articles
Search Hover Panel Positioning Bug in non IE Browsers (SharePoint 2013)
Minimal.master with footer
List Of All font-family and font-size Attributes Used in SharePoint 2010 StyleSheets
Report issues or make changes on GitHub
Found a typo or issue in this article? Visit the GitHub repository to make changes or submit a bug report.
Comments
Let's build together
Manage content in VS Code
Present from VS Code
