Locally running and testing your custom GitHub Action
When developing a custom GitHub Action, you should test and run it locally before pushing it to your repository. Initially, I created a script that allowed me to run it locally, but over the weekend, I found a better way by using the @github/local-action command-line tool.

In this post, I will show you how to use the @github/local-action command-line tool to test your custom GitHub Action locally.
Prerequisites
To start with the @github/local-action command-line tool, it is best to already have a custom GitHub Action you want to test.
If you don’t have one yet, you can use the JavaScript Action Template or the TypeScript Action Template.
Installing the @github/local-action command-line tool
To use the @github/local-action command-line tool, you need to install it first or use the npx command to run it without installing it.
npm install -g @github/local-action
# ornpx @github/local-actionPreparing the environment file
To use the command-line tool, you need to create an environment file to define the input variables and the GitHub variables. Create a new file called .env in your project and add your configuration.
Adding your variables
Your GitHub Action might require some input variables to run. You can define these variables in the environment file by adding the INPUT_ prefix to the variable name.
INPUT_<action-variable-name>=<VALUE>
# Example for the Playwright Issue Creator actionINPUT_github-token=<token>INPUT_report-path="results.success.json"INPUT_add-comment=trueINPUT_close-on-success=trueINPUT_job-summary=falseINPUT_issue-assignees=estruyfDefining your GitHub variables
You can also define the GitHub variables in the environment file. These variables define the GitHub context.
In my case, I need to set the GITHUB_REPOSITORY variable to get the repo from the @actions/github its context object.
GITHUB_REPOSITORY=estruyf/github-actions-testingEnabling debugging
You can enable debugging by setting the ACTIONS_STEP_DEBUG variable to true.
ACTIONS_STEP_DEBUG=trueWriting the job summary
When your action writes a job summary, you must do the following configuration to enable it locally.
- Create a new file to write the job summary. For example:
summary.md. - Add the
GITHUB_STEP_SUMMARYwith the path to your summary file.
GITHUB_STEP_SUMMARY=summary.mdUsing the @github/local-action command-line tool
Once you have installed the command-line tool and created the .env file, you can run the following command to test your custom GitHub Action locally.
# If you have the command-line tool installedlocal-action <path-to-your-action> <path-to-your-entrypoint> <path-to-environment-file>
# If you want to use npxnpx @github/local-action <path-to-your-action> <path-to-your-entrypoint> <path-to-environment-file>The local-action command takes three arguments:
<path-to-your-action>: The path to your custom GitHub Action (the folder where youraction.ymlfile is located).<path-to-your-entrypoint>: The path to the entry point of your custom GitHub Action.<path-to-environment-file>: The path to the environment file you want to use.
All three arguments are required to run the local-action command.
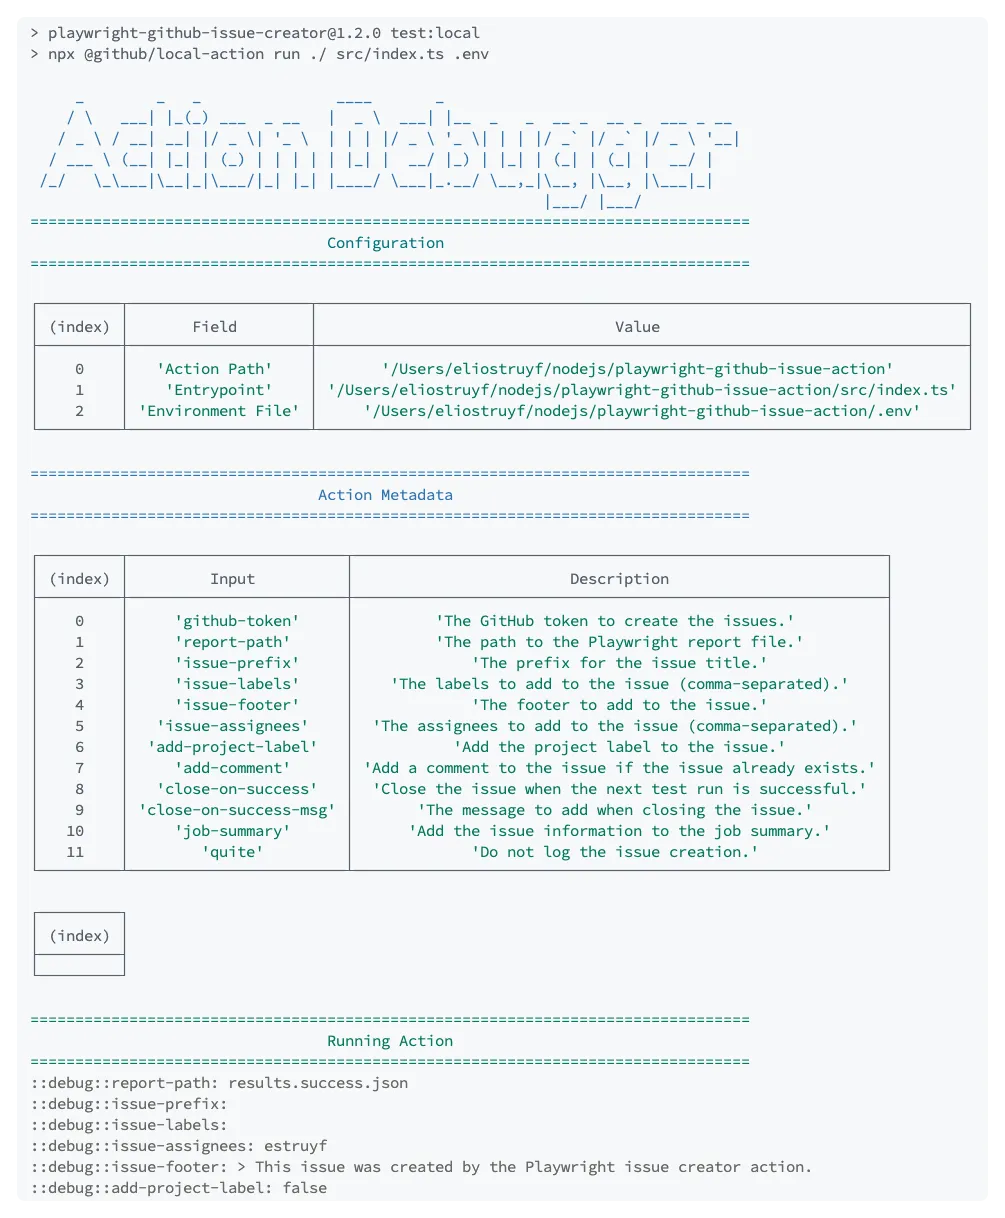
Here is an example of how I run it for my Playwright Issue Creator GitHub Action:
npx @github/local-action run ./ src/index.ts .env
This command-line tool is great during the development process of your custom GitHub Action.
Related articles
Using Cypress for end to end testing your SharePoint solutions
Running Cypress on Azure DevOps for cross-browser testing your solutions
Utilize Playwright together with Jest to cross-browser E2E test your solutions
Report issues or make changes on GitHub
Found a typo or issue in this article? Visit the GitHub repository to make changes or submit a bug report.
Comments
Let's build together
Manage content in VS Code
Present from VS Code
