Astro site deployment to Azure Static Web Apps with the CLI from GitHub Actions
This post is over a year old, some of this information may be out of date.
Deploying an Astro site to Azure Static Web Apps should be straightforward, but my initial experience was not pain-free. The default Oryx GitHub Action (Oryx GitHub Actions) failed due to package size issues and its reliance on an outdated npm install --production command. To work around this, I updated the deployment process to use the Azure Static Web Apps CLI instead.
In this blog post, I’ll walk you through deploying an Astro site to Azure Static Web Apps using the Static Web Apps CLI, ensuring a smoother experience.
Step 1: Create an Astro site
In my scenario, I created a new folder and the Astro site in a subfolder named app. I wanted to keep the root folder as clean as possible, and I will add an API folder with Azure Functions later.
npm create astro@latestStep 2: Install the Azure Static Web Apps CLI
The Azure Static Web Apps CLI is a command-line tool that allows you to create, manage, and deploy Azure Static Web Apps directly from your terminal. To install the CLI, run the following command:
npm install -g @azure/static-web-apps-cliStep 3: Initialize the Azure Static Web Apps project
Next, initialize the Azure Static Web App in the project root:
swa initIt will provide you with a default config. You should not accept it and provide the following answers:

The swa-cli.config.json file contents it creates should look similar to this:
{ "$schema": "https://aka.ms/azure/static-web-apps-cli/schema", "configurations": { "astro-func-swa": { "appLocation": "./app", "outputLocation": "dist", "appDevserverUrl": "http://localhost:4321" } }}Step 4: Add the build and dev scripts to your package.json
On the root, I installed the npm-run-all package to run the build and dev scripts in parallel and configured the build and dev scripts in the package.json file:
{ "scripts": { "build": "npm run build:app && npm run build:api", "build:app": "cd app && npm run build", "dev": "npm-run-all --parallel dev:*", "dev:swa": "swa start", "dev:app": "cd app && npm run dev" }}Step 5: Test out the local development
With the above configuration, you should be able to start the local development server from Astro and the Azure Static Web Apps CLI:
npm run dev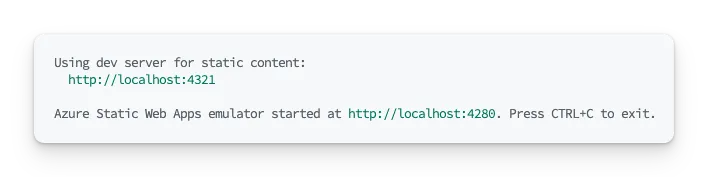
As you can see in the above screenshot, the Azure Static Web Apps proxy is running on https://localhost:4280 and the Astro development server on http://localhost:4321. Suppose you do not use any local APIs or authentication/authorization. In that case, you can use the Astro development server only, but once you add these, it is recommended that you use the Azure Static Web Apps proxy. That way, you don’t have to think about CORS issues and can test your APIs as if they are running on Azure.
Once you are happy with the local development, you can commit your changes and push them to your GitHub repository.
Step 6: Create the Azure Static Web App
On Azure, I created a new Static Web App and provided the following information:
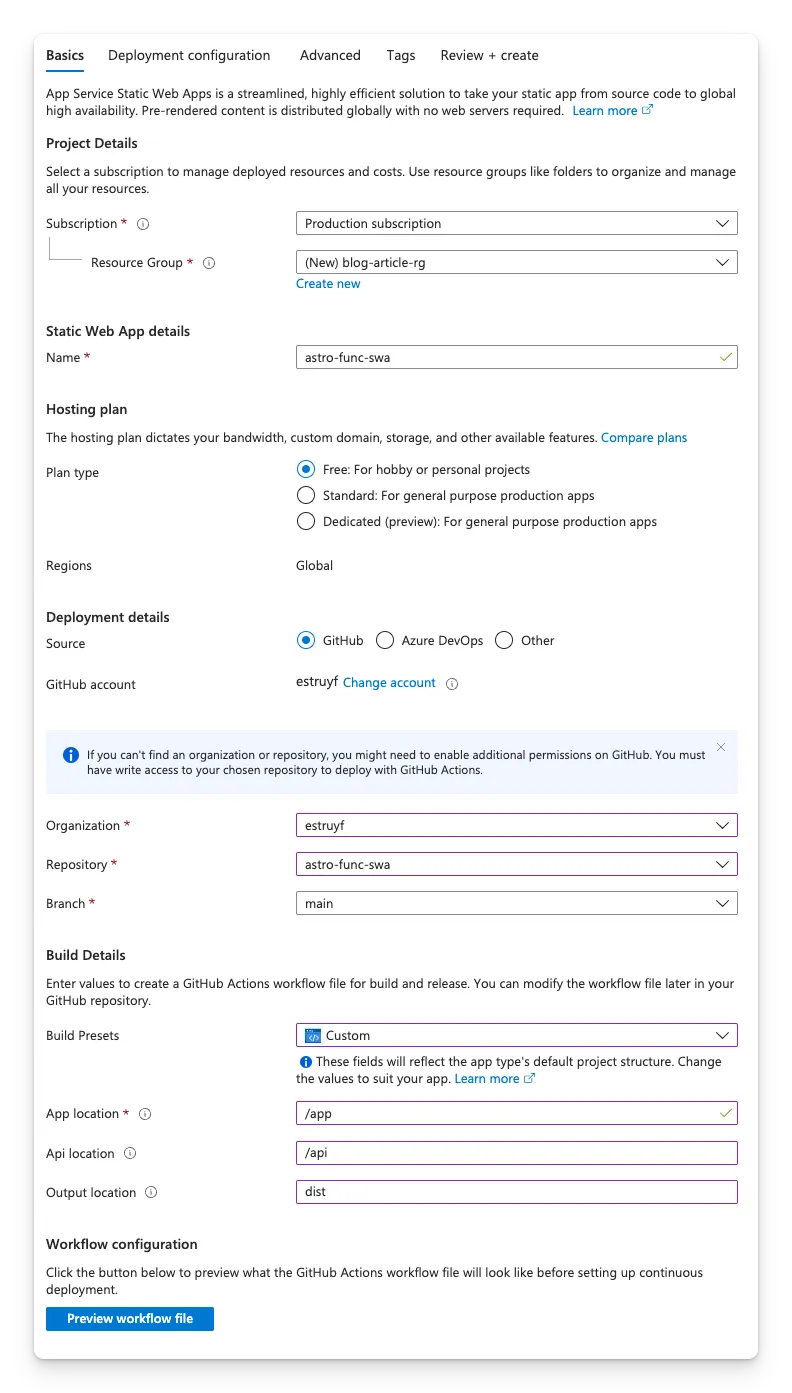
As you can see in the screenshot, I defined the app, API, and output location. I originally wanted to use the default GitHub Actions workflow it provided me, so I defined these values. As we will use the CLI, all the required values are already provided in the swa-cli.config.json file.
When you connect the GitHub repository, it automatically creates a GitHub Actions workflow for you. We won’t be using this workflow except for the API token it generates.
Step 7: Update the GitHub Actions workflow
Once the Static Web App is created, you can pull the repository changes. In the` .github/workflows’ folder, you will see a new GitHub Actions workflow.
In my case, my first run failed due to the package size issues.

Another thing I noticed was the warning about the npm install --production command. You should use npm install --omit=dev instead.

To address these issues and gain more control over the whole workflow, I decided to create a new GitHub Actions workflow and deploy the site using the Azure Static Web Apps CLI.
Change the GitHub Actions workflow filename to deploy.yml and update the contents to the following:
name: Deployment to Azure Static Web App
on: push: branches: - main
jobs: build_and_deploy_job: runs-on: ubuntu-latest name: Build and Deploy Job steps: - uses: actions/checkout@v4
- name: Setup Node.js uses: actions/setup-node@v4 with: node-version: "20" cache: "npm"
- name: Install dependencies run: | npm ci cd app && npm ci
- name: Build run: npm run build
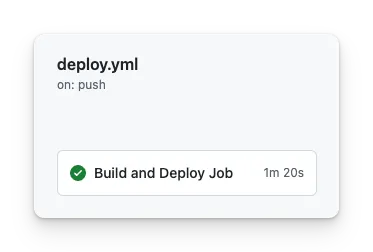
- name: Deploy run: npx @azure/static-web-apps-cli deploy -d ${{ secrets.AZURE_STATIC_WEB_APPS_API_TOKEN_<ID> }} --env productionWith this workflow, you can commit and push the changes to your GitHub repository. The GitHub Actions workflow will trigger the deployment to Azure Static Web Apps.
Conclusion
Deploying an Astro site to Azure Static Web Apps can be challenging, especially with the default Oryx GitHub Action, which I initially struggled with due to package size limitations and outdated dependency handling. Switching to the Azure Static Web Apps CLI allows you more control over the whole build and deployment process.
Related articles
Integrating Azure Functions into your Astro site
Learn how to seamlessly integrate Azure Functions into your Astro site for enhanced serverless capabilities and streamlined deployment.
Azure Functions missing after zip deploy from GitHub Actions
Learn how to troubleshoot Azure Functions that don't appear after zip deployment from GitHub Actions, including platform architecture configuration fixes.
Manual GitHub workflow triggers for Azure Static Web Site
Report issues or make changes on GitHub
Found a typo or issue in this article? Visit the GitHub repository to make changes or submit a bug report.
Comments

Let's build together
Manage content in VS Code
Present from VS Code
Engage with your audience throughout the event lifecycle