Symlink your content in Astro for better portability
This post is over a year old, some of this information may be out of date.
Astro is a powerful static-site generator that allows developers to build lightning-fast websites. However, when trying to create a more portable and flexible blog by separating content from the website’s source, I faced issues with symlinks/content not being recognized/found.
In this blog post, I’ll walk you through a simple solution to this problem and explain how you can easily symlink your content to an Astro project.
Background: Why Separate Content from the Source Code?
It all started because I got interested in Astro; setting up a sample project is easy, but I wanted to start testing it against the data of my blog. That is when I began to think about more flexibility to test and experiment with different static-site generators and frameworks like Astro.
I started to think about how I could make it work so that I could still manage the content how I am used to managing it, without needing to copy/paste it to any other sample projects.
This need for adaptability led me to separate my content from the website’s source code in another repository. By doing so, I could quickly start testing against other static-site generators or frameworks by adding a git submodule to the repository. The most significant benefit is no content duplication, and if I change a file, I can get the update on my Hugo blog project as well.
Another motivating factor behind this decision was enhancing my Front Matter CMS experience. By having a well-organized and independent set of content, I could build new features, refine the CMS’s capabilities, and ensure seamless integration with other static-site generators and frameworks.
Symlinking the content
First, I added my content to the Astro project by adding the git submodule. In my case, all the content and my Front Matter CMS configuration is added to a .frontmatter folder.
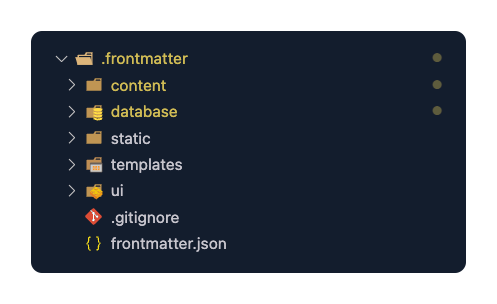
Once the content was added, I only needed to symlink it to the ./src/content/ folder.
To start, I symlinked my posts folder as follows:
ln -s "$(pwd)/.frontmatter/content/posts" "$(pwd)/src/content/posts"This command creates a symlink from the ./.frontmatter/content/posts folder to the ./src/content/posts folder.
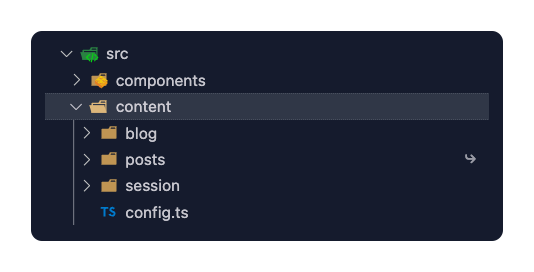
Unfortunately, this didn’t work as expected. I got the following error:
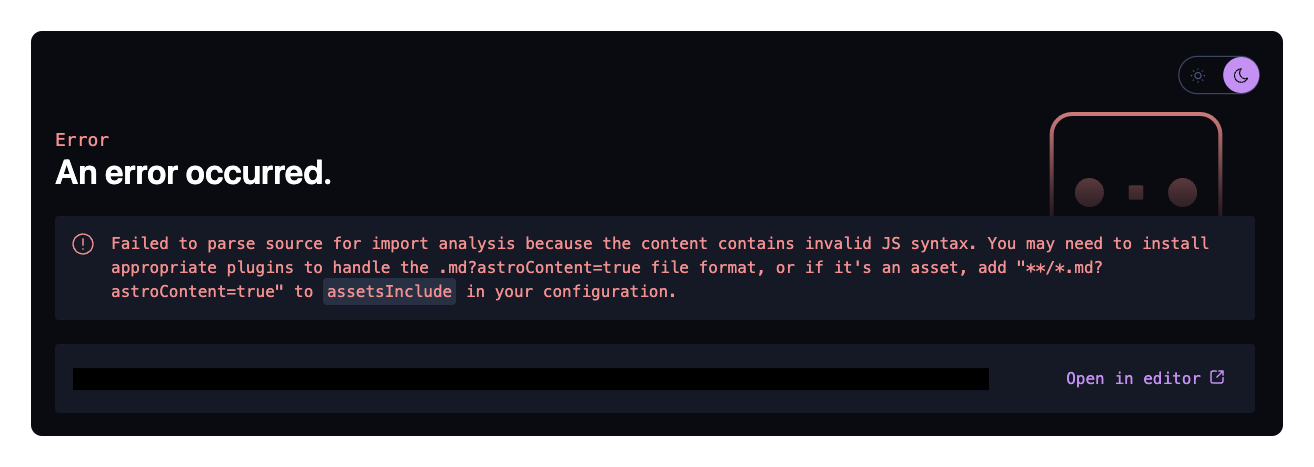
Fix the content issues
I started to look in the Astro documentation but did not find a solution. When I discovered that Astro uses Vite, I realized it could relate to that tool.
I found the preserveSymlinks setting in the documentation and configuration references.
{{< blockquote type="info" text="preserveSymlinks: Enabling this setting causes vite to determine file identity by the original file path (i.e. the path without following symlinks) instead of the real file path (i.e. the path after following symlinks).
So I updated the astro.config.mjs file with the following configuration:
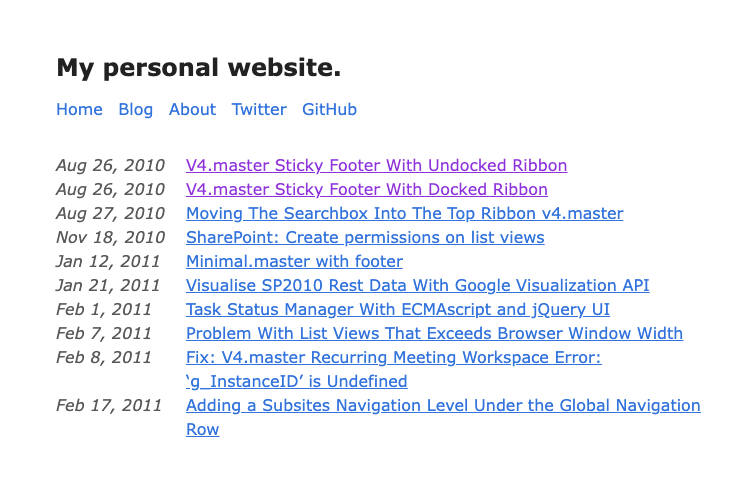
export default defineConfig({ ... vite: { resolve: { preserveSymlinks: true } }});Once the local server restarted, I started to see the content of my blog.
Linking my assets
As it works for the content, I could do the same for the assets of my site. In my public/static folder, I have two folders:
social: For all my Open Graph images;uploads: For all my images (I kept this as I once moved from WordPress to Hugo).
I symlinked both folders as follows:
ln -s "$(pwd)/.frontmatter/static/social" "$(pwd)/public/social"ln -s "$(pwd)/.frontmatter/static/uploads" "$(pwd)/public/uploads"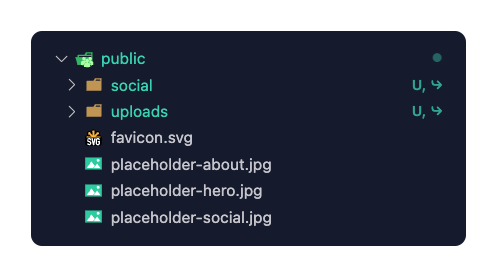
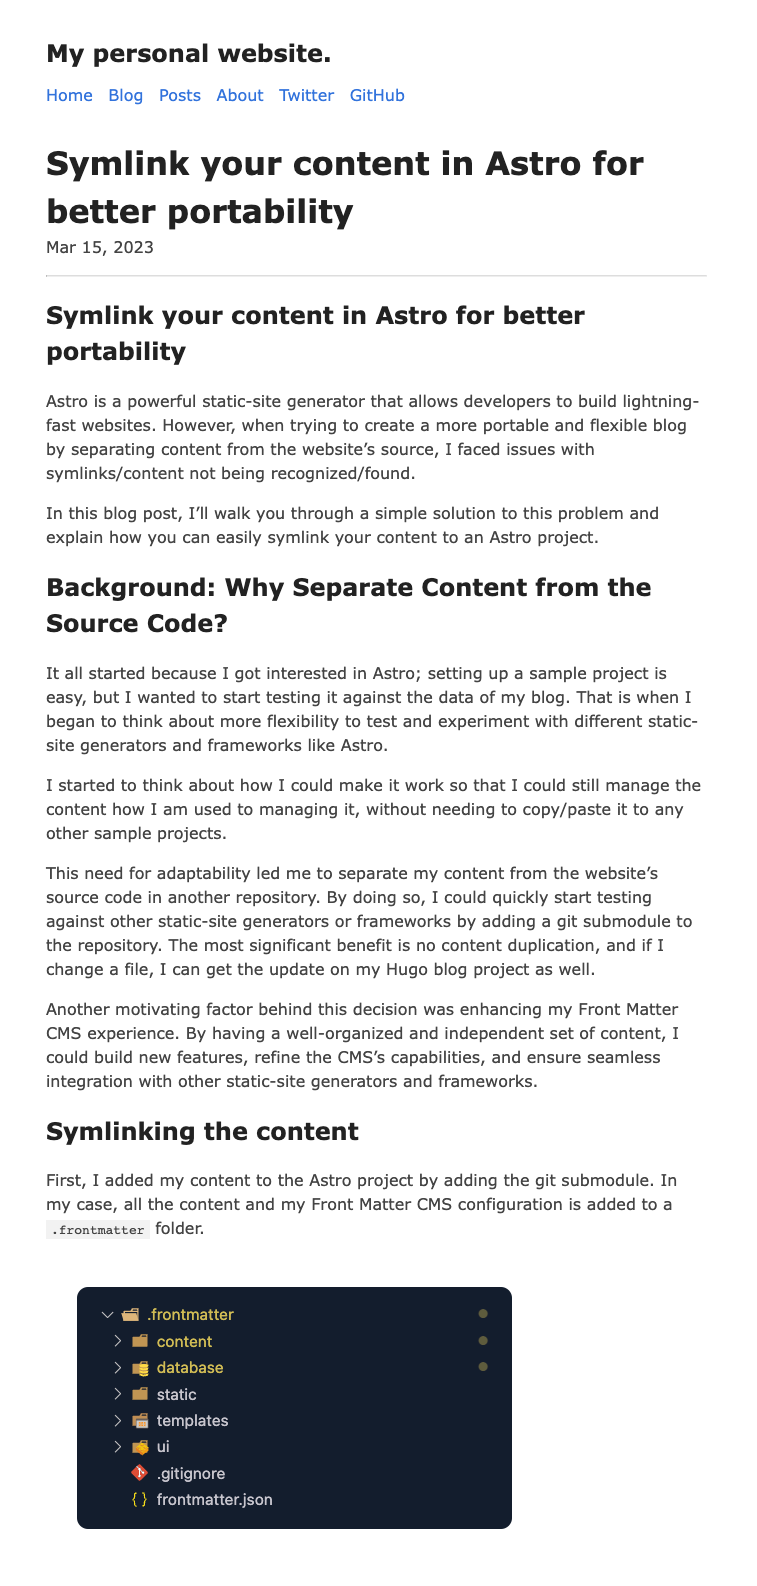
The blog post result looks like this:
I hope this might help you achieve the same in your projects.
Related articles
How to make local Azure Static Web App development easier
My migration story from Hugo to Astro
My journey migrating from Hugo to Astro highlights flexibility, ease of use, and enhanced developer experience with React integration.
Change the Active Directory User Password Through SharePoint
Report issues or make changes on GitHub
Found a typo or issue in this article? Visit the GitHub repository to make changes or submit a bug report.
Comments
Let's build together
Manage content in VS Code
Present from VS Code
Engage with your audience throughout the event lifecycle
