Setting up Azure Storage for local develop of timer or queue triggered Azure Functions
This post is over a year old, some of this information may be out of date.
These days I use Azure Functions quite a lot for automating things. Since the general availability of Azure Functions which was announcement back in November 2016, they are becoming even more popular and are being used for various kinds of things.
Even the local development process of Azure Functions got a lot better. Right now, you have the following options: Azure Functions CLI, Visual Studio Tools for Azure Functions or use the Serverless Framework.
Azure Functions CLI: https://www.npmjs.com/package/azure-functions-cli
Visual Studio Tools for Azure Functions:https://blogs.msdn.microsoft.com/webdev/2016/12/01/visual-studio-tools-for-azure-functions/
Serverless Framework: https://azure.microsoft.com/en-us/blog/announcing-new-azure-functions-capabilities-to-accelerate-development-of-serverless-applications/
It is up to you to choose which one you want to use. As I love to work with Visual Studio Code and Node.js, I choose to use the Azure Functions CLI.
When I created my first timer triggered Azure Function locally, I always received ScriptHost errors. This blocked me from being able to debug my function. The error itself only said: “A ScriptHost error has occurred”, which of course does not say much of what is going on.
I logged this issue on GitHub and got a response that timer triggered functions also require storage to run.
Info: Here you can find the issue on GitHub - https://github.com/Azure/azure-functions-cli/issues/45
The error message got improved with the latest update of the Azure Function CLI. When you now create a new timer function without storage configuration you get the following error:

To solve this problem, you should add an Azure Storage account or make use of the Azure Storage Emulator.
Using the Azure Storage Emulator
First, you must install the Azure Storage Emulator on your machine.
Info: Azure Storage Emulator - https://docs.microsoft.com/en-us/azure/storage/storage-use-emulator
Once you downloaded the emulator, install it on your machine and run it:
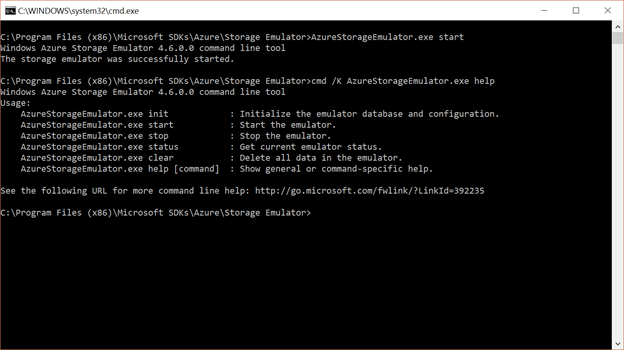
From the moment, the emulator is running, you must configure the local environment to make sure that it uses this storage emulator. To do this, run the following command: func settings add AzureWebJobsStorage UseDevelopmentStorage=true or add "AzureWebJobsStorage": "UseDevelopmentStorage=true" to the AppSettings.json file.

When this is configured, run your function (example: func run TimerTriggerJS), and it should start to work:
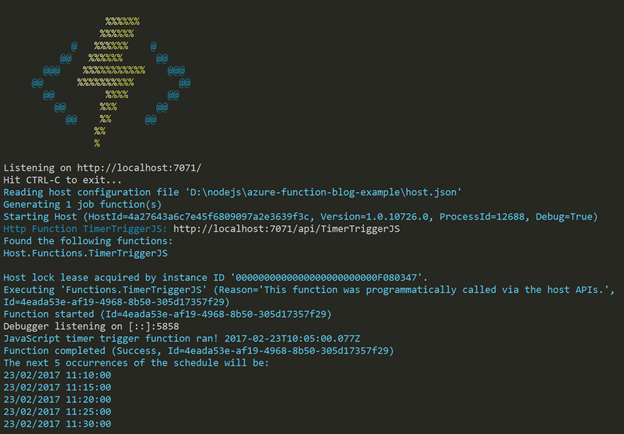
To stop the Azure Storage Emulator, you can run the following command: AzureStorageEmulator.exe stop
Using Azure Storage
As mentioned, you can also make use Azure Storage directly. Via this way, you do not have to install the storage emulator on your machine.
To make use of this approach, you should add the connection string of your Azure Storage location to the AppSettings.json file as follows: DefaultEndpointsProtocol=https;AccountName=<storage-name>;AccountKey=<account-key>
Info: more information about the connection string can be found here: https://docs.microsoft.com/en-us/azure/storage/storage-configure-connection-string

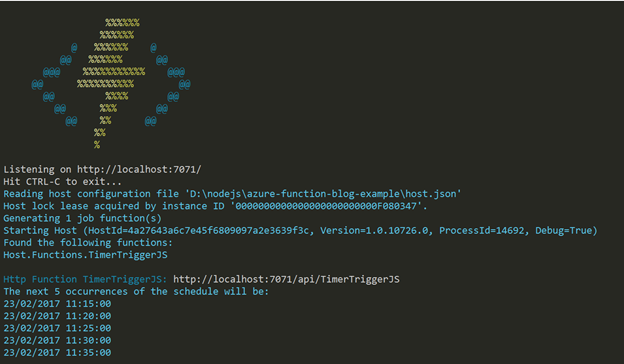
Once added, the result should be the same when running the function:
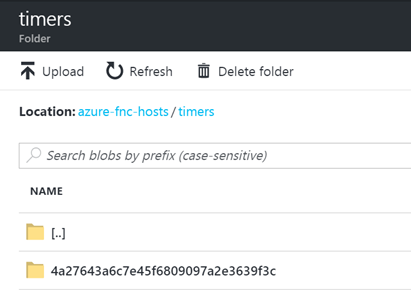
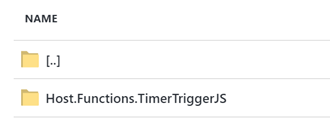
On the Azure Storage account in the portal, you should see the following folders being added to the container once the function ran for the first time:
Related articles
Report issues or make changes on GitHub
Found a typo or issue in this article? Visit the GitHub repository to make changes or submit a bug report.
Comments
Let's build together
Manage content in VS Code
Present from VS Code
Engage with your audience throughout the event lifecycle
