Publishing web projects from Visual Studio Code to Azure with Git
This post is over a year old, some of this information may be out of date.
For a hobby project which I was creating with Node.js and Visual Studio Code, I was amazed about how powerful the Visual Studio Code has gotten in such a short time period. Most of us know how easy it is when you publish one of your web projects from Visual Studio to Azure. It is just a matter of clicks and your website gets pushed to the cloud.
In Visual Studio Code it is not that easy as its big brother, but that does not mean that it is hard to achieve. You have to do a couple of things yourself, but once you have done these things it is as easy as in Visual Studio itself.
The way to achieve it is via the continuous deployment functionality of a Web App. With this option you can connect a source control system to your site in order to push updates.
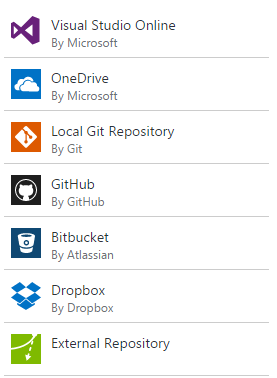
As you can see in the screenshot above, you have a couple of options. The option that I used was the one that creates a local git repository on your web app. This is probably one of the easiest options (except for OneDrive and Dropbox), as you do not need to configure something anywhere else.
Azure Web App - Local Git repository configuration
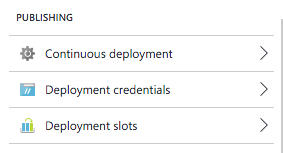
First thing you have to do is create a new Web App for your web project on Azure. Once you did that, click on the settings button of your Web App. In the settings list you find the following section:
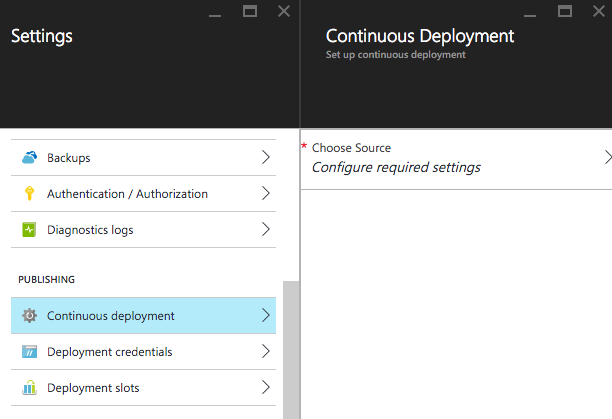
Click on Continuous deployment and you will get the option to configure it:
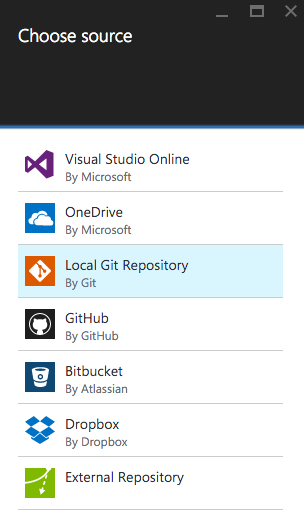
From the list of available deployment options choose Local Git Repository.
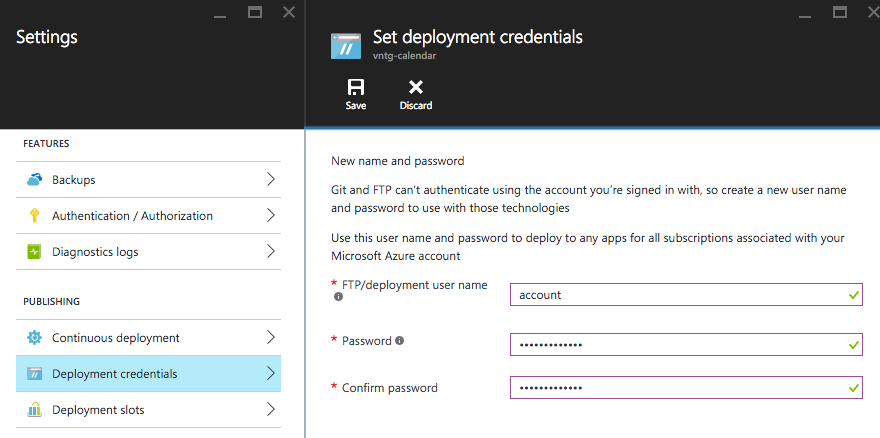
Once you select it, click to on the OK button and your Git repository will be provisioned. The repository uses the same username and password as your FTP account. You can update your credentials via the Deployment credentials link.
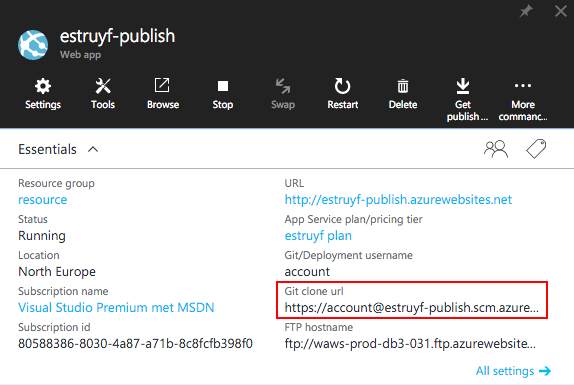
Once the Git repository is completely provisioned, you can see the information on the Web App.
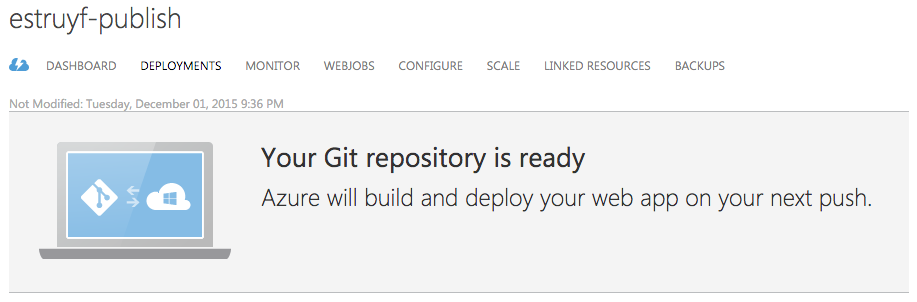
The provisioning experience is much better in the old portal. In the old portal under the deployments tab it shows you when your Git repository is ready to be used.
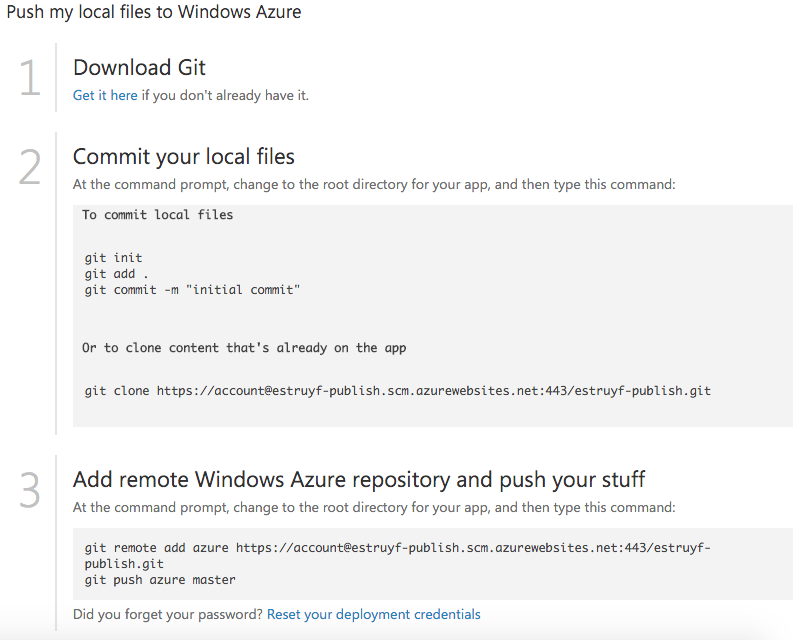
It gives you a couple of steps what you have to do in order to get it running on your environment:
Visual Studio Code configuration (new application push)
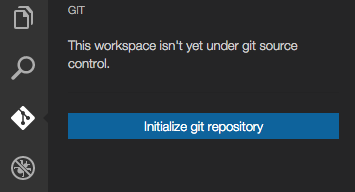
Now that the Local Git Repository is ready, you have to open Visual Studio Code with your web project. Click on the Git icon:
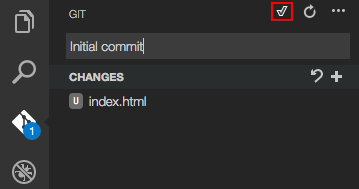
Fill in the message of your commit in the message textbox and press ctrl+enter or click on commit all (check) icon at the top.
Open a command prompt and navigate to the folder of your web project. Execute the following commands to do your commit:
git config credential.helper storegit push -u azure master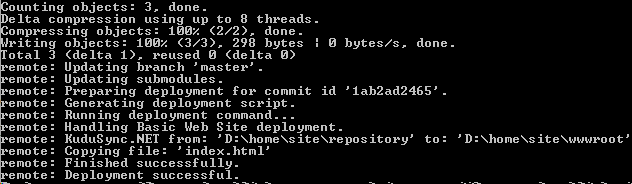
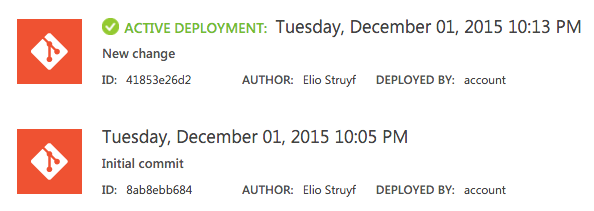
If you go back to Azure you can see your push on the deployment tab:
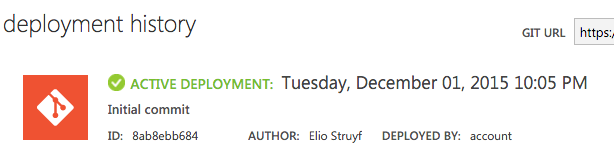
The nice thing about the Azure portal is that you get an overview of all the past deployments:
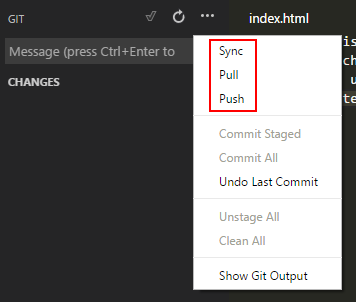
Pushing new commits
Once you executed the commands from above in your command prompt, you can do pulling and pushing from within Visual Studio Code. That means that you do not need your command prompt anymore.
Update an existing application (clone)
If you already used the Git repository with another editor and want to use it with Visual Studio Code, you have to do the following things. First you start by creating a clone of your application. Open your command prompt, navigate to where you want to clone the application and execute the following command:

Once you done this, you can pull and push from within Visual Studio Code.
If you can to store your credentials, you have to navigate to the newly created folder and execute the following command:
cd your-applicationgit config credential.helper storeRelated articles
Things to know when creating subscriptions via the Microsoft Graph API
Retrieving the CosmosDB query continuation token in Node.js
Extension tip to bring Visual Studio Code to the foreground
In this article Elio explains how you can get Visual Studio Code to be brought back to the foreground.
Report issues or make changes on GitHub
Found a typo or issue in this article? Visit the GitHub repository to make changes or submit a bug report.
Comments

Let's build together
Manage content in VS Code
Present from VS Code
Engage with your audience throughout the event lifecycle